Introduction: The Importance of Properly Setting Up Your Peloton Shoes
For cycling enthusiasts, having the right gear can make or break your riding experience. Peloton shoes are not just an accessory; they are a crucial component that can enhance your performance, comfort, and safety. Properly setting up your Peloton shoes ensures that you enjoy every mile without discomfort or injury. In this guide, we will explore how to set up Peloton shoes, share real-world experiences, and provide you with tips to optimize your cycling experience.
Understanding Peloton Shoes: What Are They?
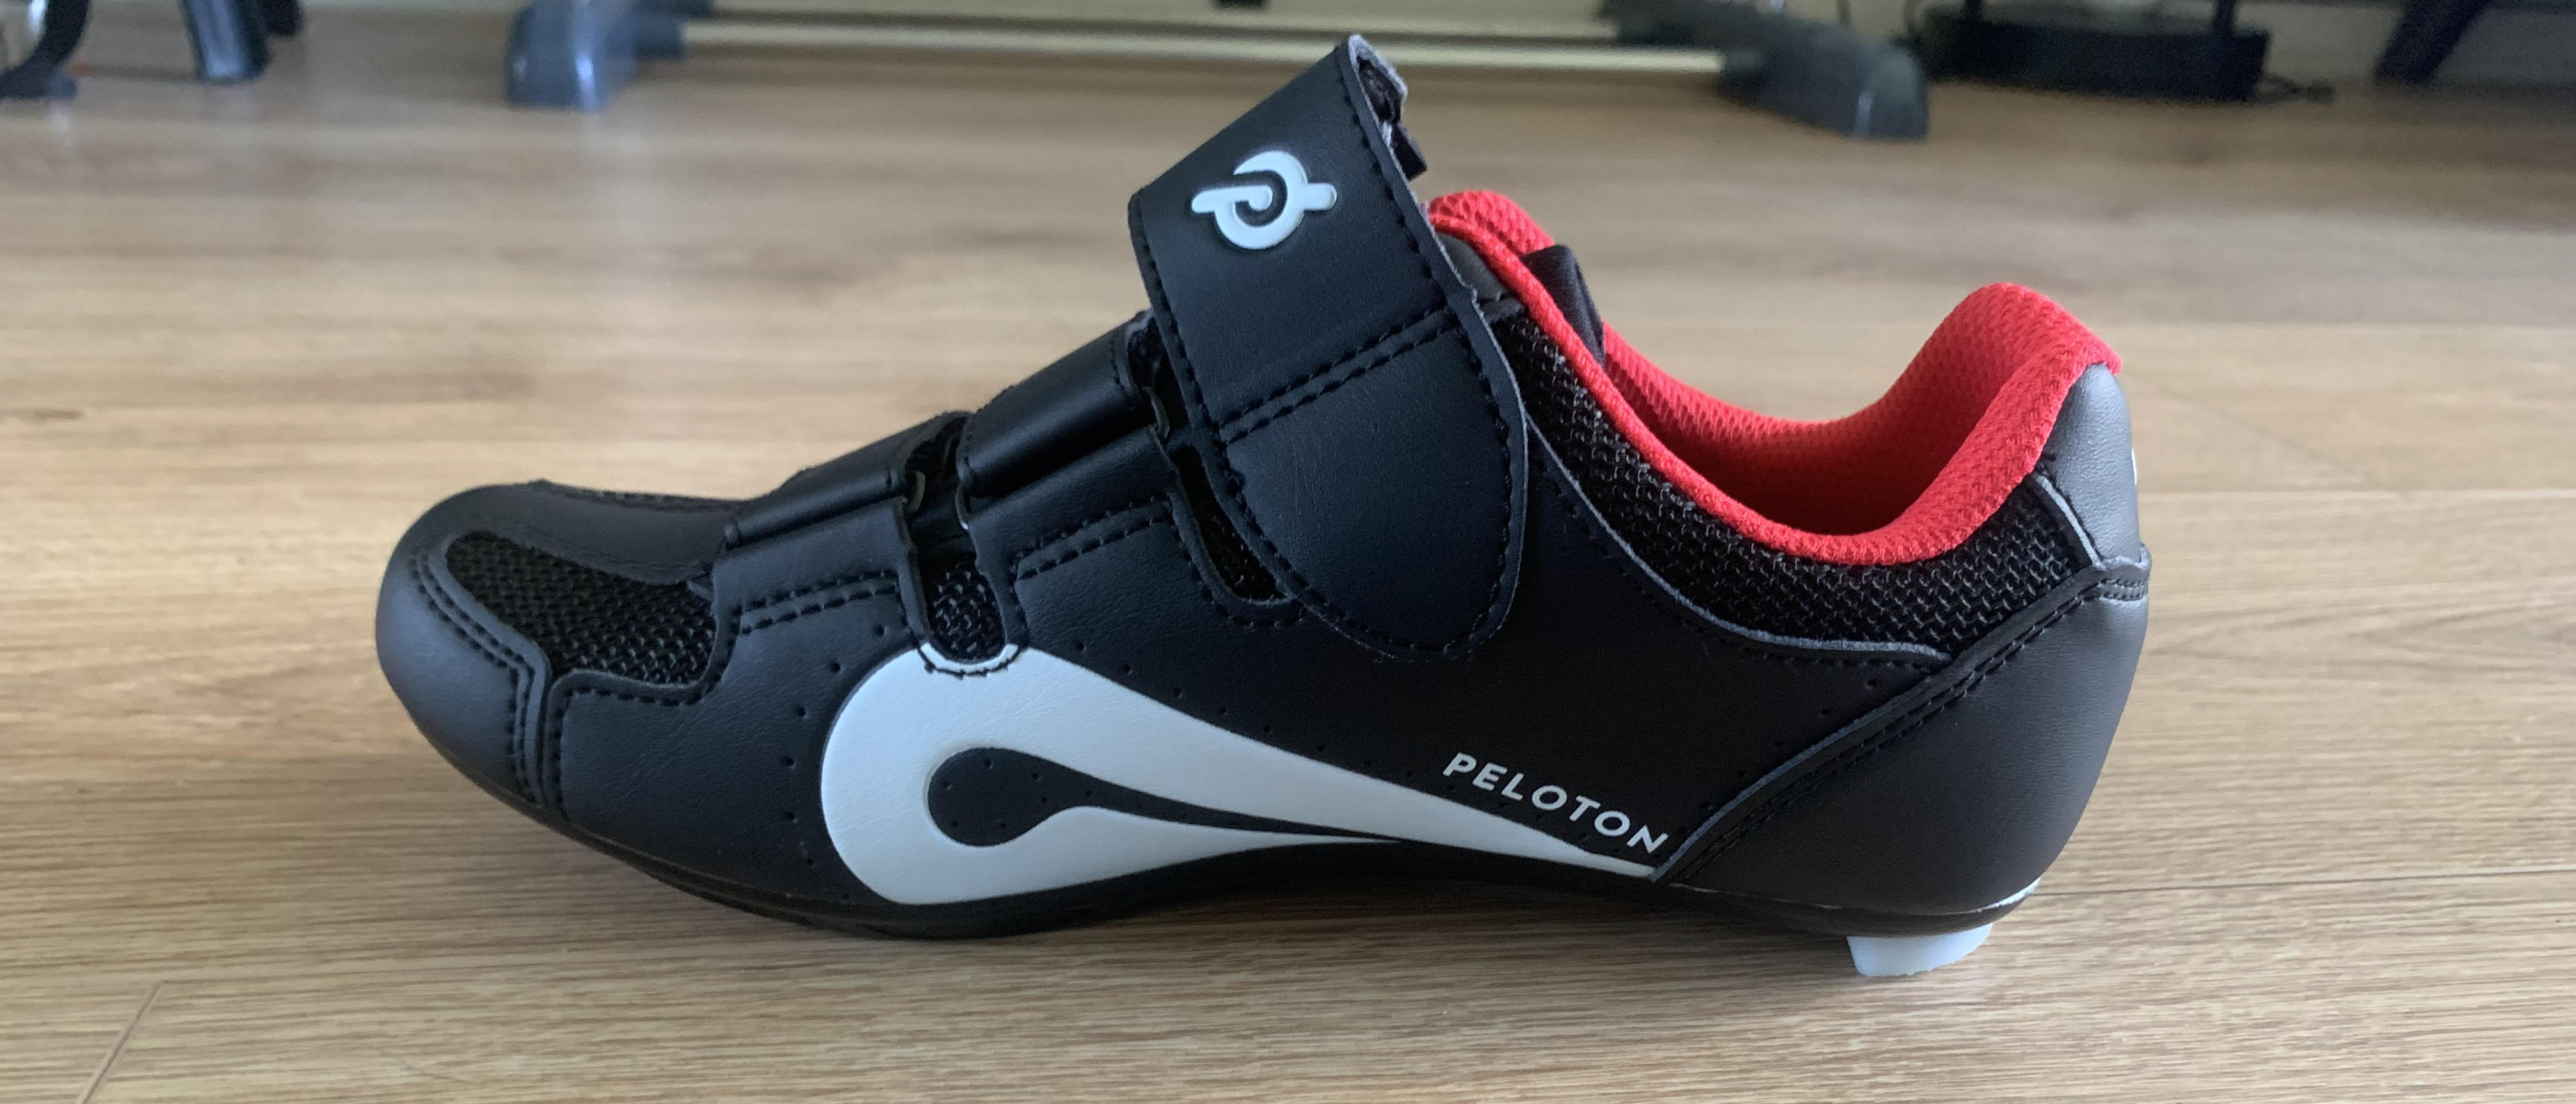
Peloton shoes are specialized cycling shoes designed to work seamlessly with Peloton bikes. They typically feature a stiff sole that allows for efficient power transfer while pedaling, as well as a cleat system that securely attaches the shoe to the bike’s pedals. In this section, we’ll dive into the features that make Peloton shoes unique.
Key Features of Peloton Shoes
- Stiff Sole: Provides better energy transfer with less fatigue.
- Compatibility: Designed to work with Peloton’s SPD-SL and LOOK Delta cleat systems.
- Adjustable Fit: Most Peloton shoes come with adjustable straps or BOA lacing for a secure fit.
- Breathability: Made with materials that allow for airflow, keeping your feet cool during intense workouts.
How to Set Up Your Peloton Shoes: Step-by-Step Guide
Now that you understand what Peloton shoes are, let’s dive into setting them up. This section will guide you through the entire process, ensuring that you get it right the first time.
Step 1: Gather Your Materials
Before you begin, make sure you have the following materials:
- Your Peloton shoes
- Compatible cleats (LOOK Delta or SPD-SL)
- Phillips head screwdriver
- A measuring tape or ruler
- Marker for marking positions
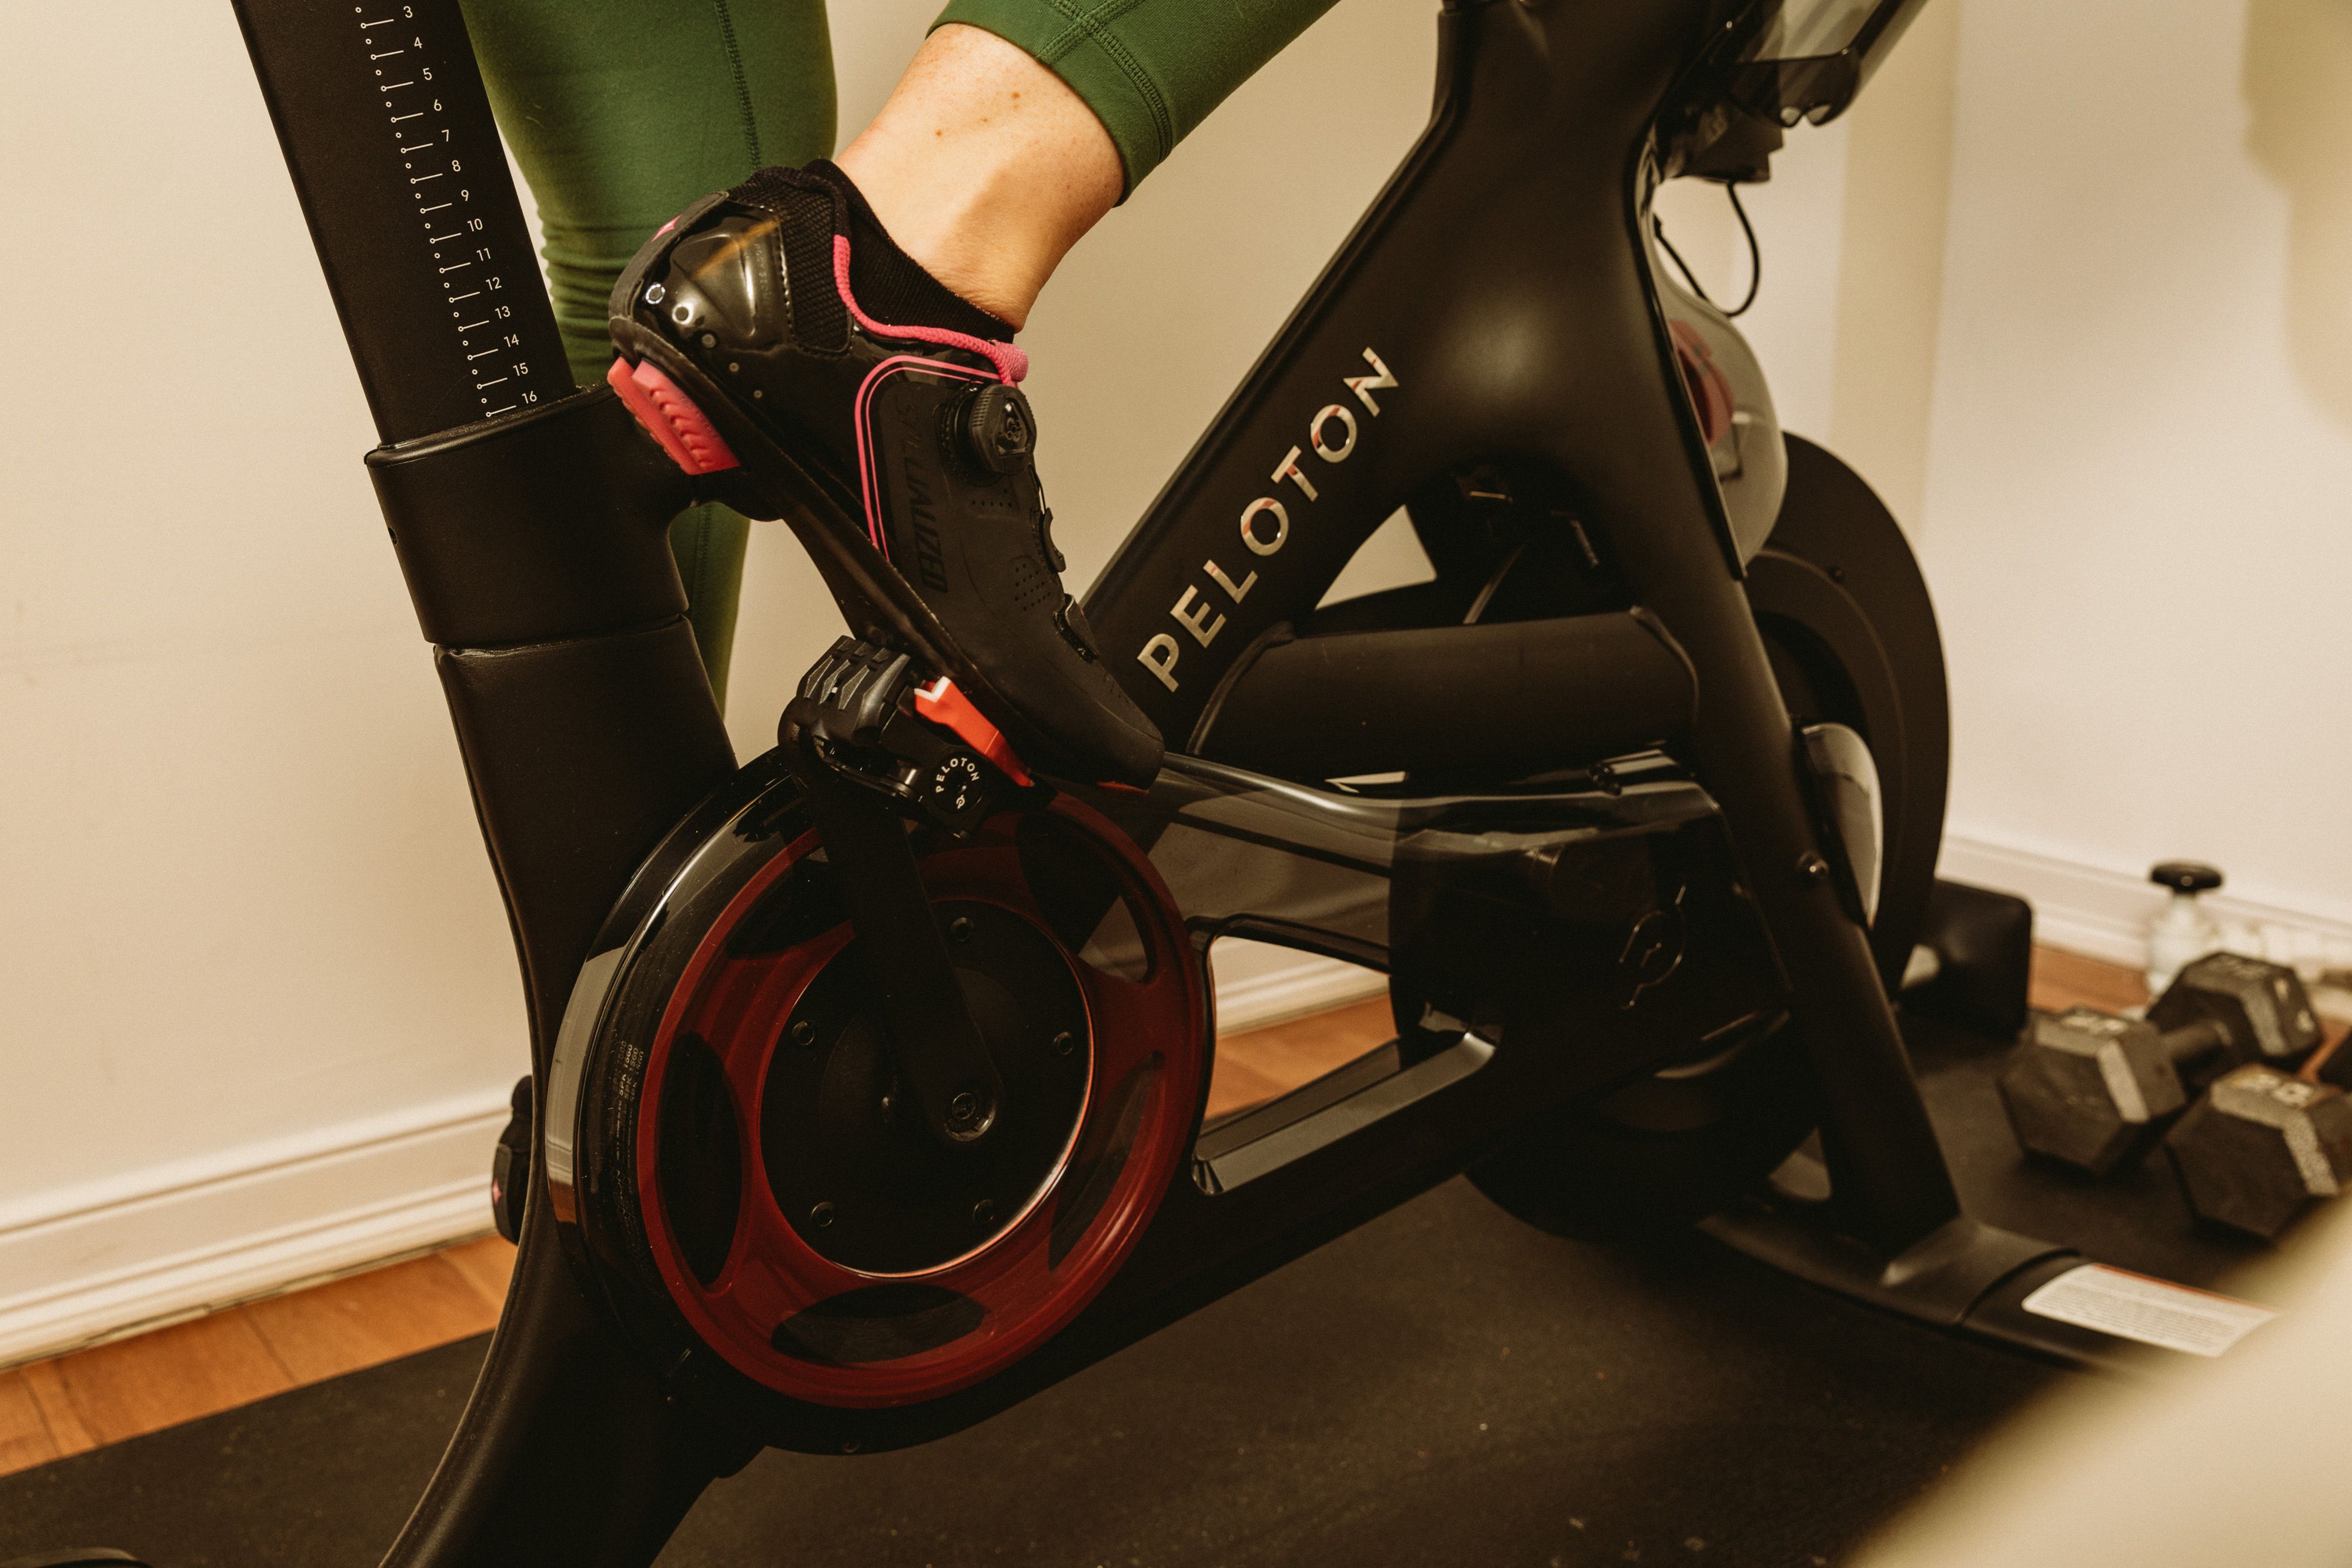
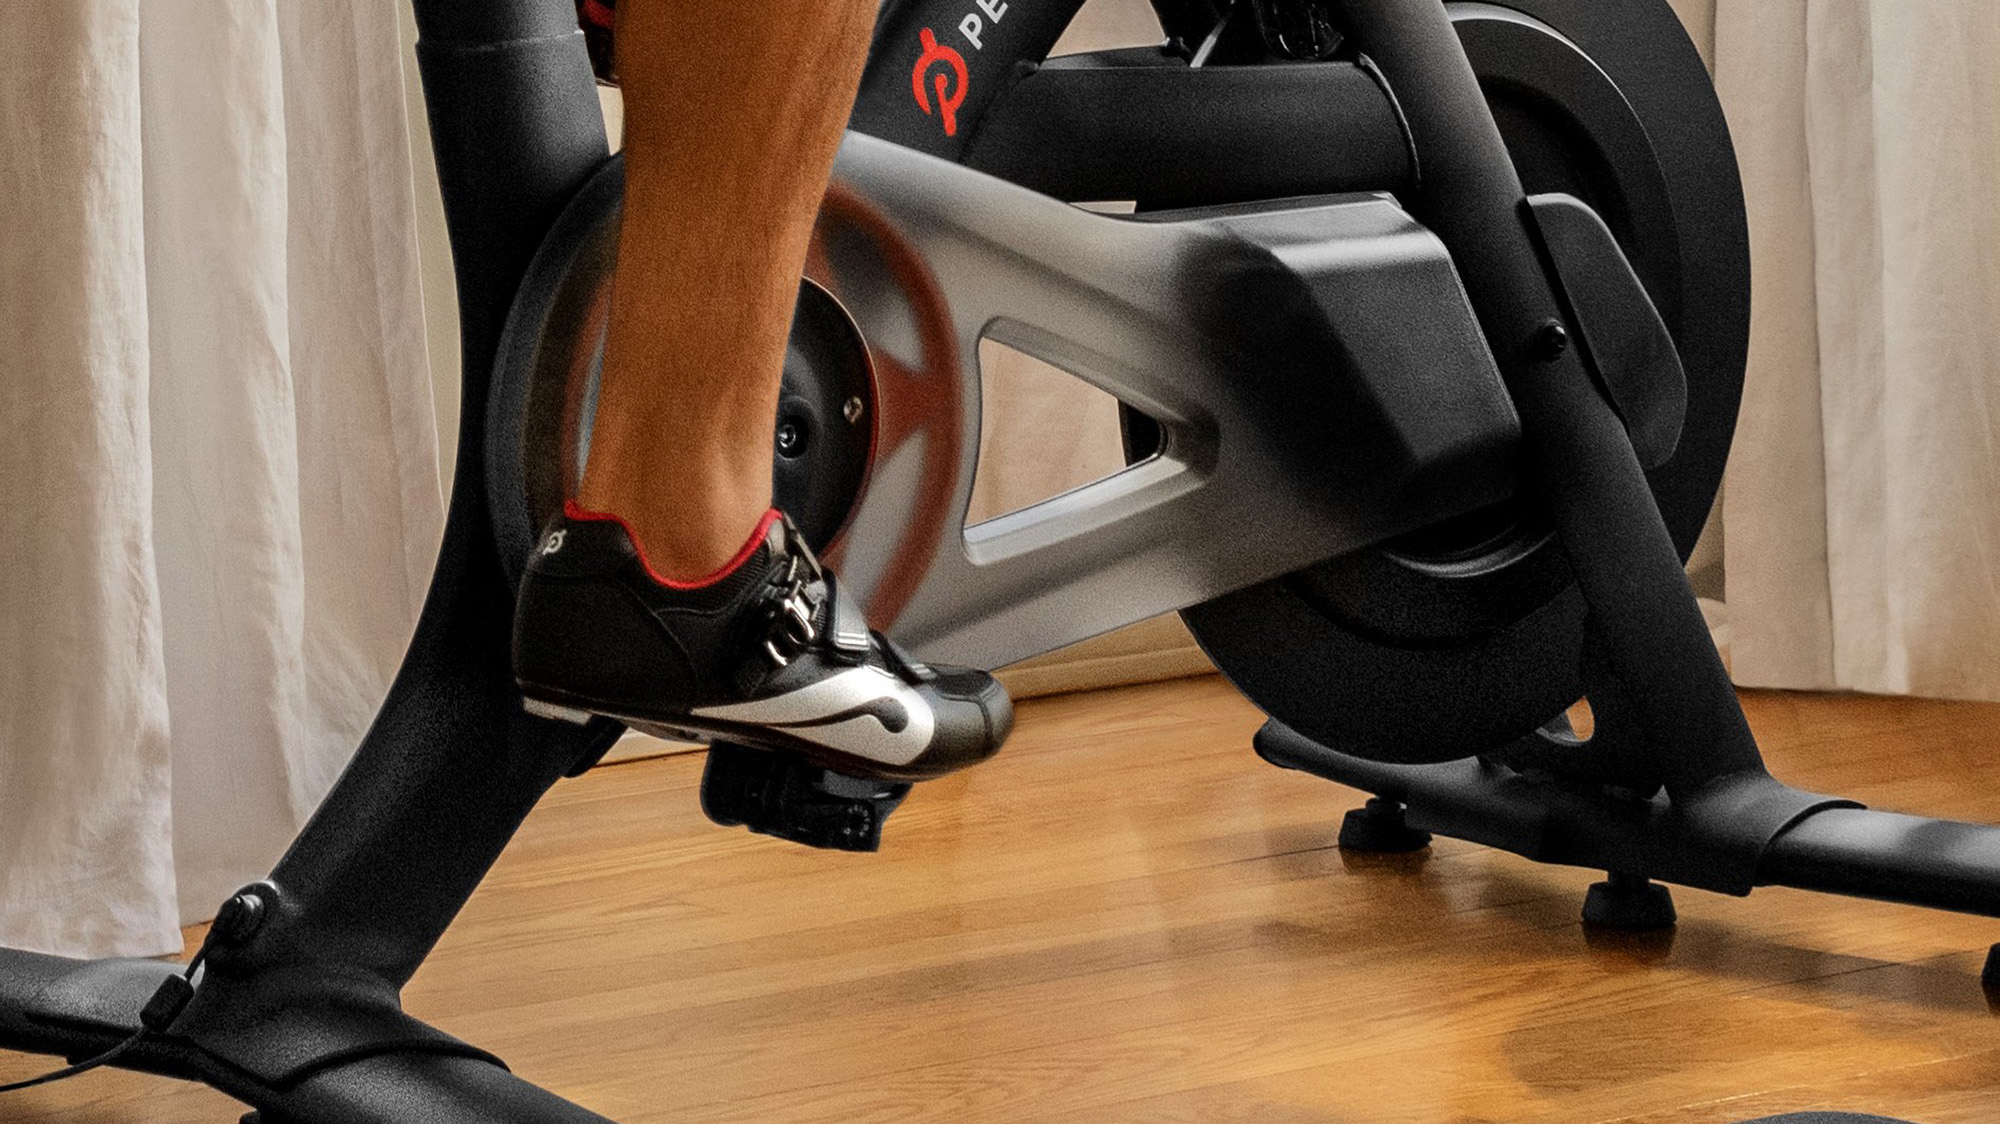
Step 2: Attach the Cleats to Your Peloton Shoes
Start by laying your shoes on a flat surface. Locate the holes on the bottom of your shoes for attaching the cleats. Place the cleats under the holes and align them so they match up perfectly. This positioning is vital as it affects your riding posture and power transfer. Use the marker to mark the location of the holes for easier alignment. After that, use the Phillips screwdriver to tighten the screws, ensuring they are snug but not overly tight.
Pro Tip:
It’s best to position the cleats slightly back from the toe of the shoe. This positioning can help reduce strain on your knees and enhance pedaling efficiency.
Step 3: Adjust the Cleat Position
After attaching the cleats, it’s essential to adjust their position for optimal comfort and performance. Stand in your cycling shoes and notice where your feet naturally fall. Adjust the cleat forward or backward to match this natural position. Once adjusted, tighten the screws securely while ensuring not to strip the threads.

Step 4: Test Your Set-Up
After adjusting, it’s important to test your setup by riding your Peloton bike. Pay attention to any discomfort or awkward movements, which might indicate that a further adjustment is necessary.
Real-World Experiences: What Cyclists Say About Their Peloton Shoes
Let’s take a look at some real-world experiences shared by Peloton users. These insights can offer you valuable perspectives on the practicalities of setting up and using Peloton shoes.

Case Study 1: Sarah’s Transition to Peloton Shoes
Sarah, a long-time cyclist, recently transitioned to Peloton shoes after noticing improvements in her performance. “Initially, I struggled with the cleat positioning, but after adjusting for a more natural foot placement, my rides became much more comfortable. I could feel the difference in my energy transfer,” she explained.
Case Study 2: Mark’s First Impressions
Mark, a beginner, purchased Peloton shoes alongside his bike. “I didn’t realize how crucial it was to set up the cleats correctly until I started riding. The instructions were clear, and after a few tweaks, I found the sweet spot. Now, I look forward to every ride!”
Peloton Shoes Comparison: Different Models and Features
Peloton offers a variety of cycling shoes tailored to different rider preferences. Here, we compare a few popular models to help you choose the right fit for your cycling journey.
Comparison Table: Peloton Shoes Models
| Model | Comfort Level | Weight | Price |
|---|---|---|---|
| Peloton Cycling Shoes | High | 1.3 lbs | $125 |
| Peloton Women’s Cycling Shoes | Medium | 1.2 lbs | $120 |
| Peloton Men’s Cycling Shoes | High | 1.4 lbs | $130 |
Choosing the Right Model for You
When it comes to choosing the best Peloton shoes, consider factors such as comfort level, weight, and price. Make sure to try them on and walk around a bit to see how they feel before making a purchase.

Tips for Maximizing Your Cycling Experience with Peloton Shoes
To get the most out of your Peloton shoes, here are some additional tips to consider:
1. Break Them In
Before jumping into intense cycling sessions, it’s a good idea to wear your shoes around the house to break them in. This will allow you to get accustomed to the fit and feel.
2. Regular Maintenance
Check the screws on your cleats periodically to ensure they remain tight. Loose screws can lead to inefficient pedaling and potentially dangerous situations.
3. Clean Your Shoes
Make sure to clean your shoes regularly. This not only maintains their appearance but also prolongs their lifespan. Use a damp cloth to wipe them down after each ride.
Pros and Cons of Using Peloton Shoes
Like any product, Peloton shoes come with their set of advantages and disadvantages. Understanding these can help you make a more informed decision about whether they are the right choice for you.

Pros
- Enhanced performance thanks to the stiff sole
- Compatibility with Peloton bikes ensures a perfect fit
- Improved comfort with proper setup
- Durable construction for prolonged use
Cons
- Can be pricey compared to regular cycling shoes
- Adjustment period if you’re new to cycling shoes
- Limited airflow in some models may lead to discomfort on hotter days
FAQs About Setting Up Peloton Shoes
1. Can I use my Peloton shoes with other bikes?
Yes! As long as the bike accepts the LOOK Delta or SPD-SL cleats, you can use your Peloton shoes on different bikes.
2. How do I know if my cleats are installed correctly?
Your cleats should feel secure when you try to move them back and forth. If they wiggle or feel loose, recheck the installation.
3. Are Peloton shoes worth the investment?
If you’re serious about cycling and want to improve your performance, investing in a good pair of Peloton shoes is definitely worth it.
4. What if my shoes don’t fit properly?
If your shoes don’t fit correctly, consider returning them for a different size or model. Proper fit is crucial for performance and comfort.
5. How often should I replace my Peloton shoes?
Typically, cycling shoes can last anywhere from 1 to 3 years, depending on usage. Keep an eye on wear and tear, and replace them when necessary.
6. Can I clean my Peloton shoes in the washing machine?
It’s not recommended to machine wash your Peloton shoes. Instead, clean them by hand with a damp cloth and mild soap.
7. What should I do if I experience discomfort while riding?
Check your cleat positioning, ensure shoes are fitted correctly, and consider adjusting your bike’s seat height or position for better alignment.
8. How do I store my Peloton shoes?
Store them in a cool, dry place away from direct sunlight to prevent damage. Avoid stacking heavy items on top of them.
9. Are there any alternatives to Peloton shoes?
Yes, there are many brands that offer cycling shoes compatible with LOOK Delta or SPD-SL systems. Explore options from brands like Shimano, Sidi, or Giro.
10. Can I use my Peloton shoes for outdoor cycling?
Absolutely! If your outdoor bike is compatible with the same type of cleats, Peloton shoes can be an excellent choice for cycling outside.