Making your own shoes can be an incredibly rewarding experience. Whether you’re a fashion enthusiast, a DIY lover, or simply someone who wants to ensure a perfect fit, crafting your footwear allows you to express your style and creativity. In this comprehensive guide, we’ll walk you through the entire process of making your own shoes, sharing insights, tips, and real-world experiences along the way.
Why Make Your Own Shoes?
Before diving into the how-to’s, it’s essential to understand the benefits of making your own shoes. Here are a few reasons why you might want to consider this rewarding craft:
Customization
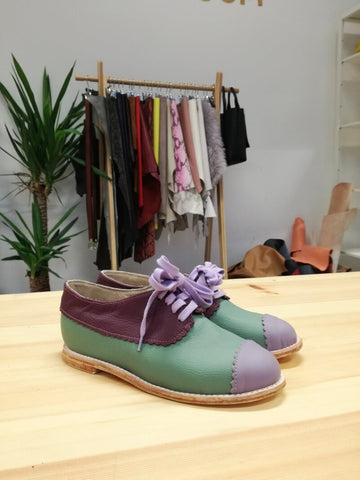
One of the most significant advantages is customization. You can choose the materials, colors, and styles that reflect your personality. Whether you prefer a casual sneaker, elegant heels, or sturdy boots, the possibilities are endless!
Perfect Fit
Buying shoes off the rack can sometimes lead to discomfort due to incorrect sizing. By making your own shoes, you can ensure they fit perfectly to your unique foot shape.

Cost-Effectiveness
While the initial investment might be higher, over time, making your own shoes can save you a significant amount of money, especially if you regularly buy high-quality footwear.
Eco-Friendliness
Handcrafted shoes often use sustainable materials, making them a more environmentally friendly choice compared to mass-produced options.

Getting Started: Essential Tools and Materials
To begin your shoe-making journey, you’ll need specific tools and materials. Here’s a breakdown of what you will require:

Essential Tools
- Pattern-making tools (paper, scissors, and a ruler)
- Cutting tools (fabric scissors and utility knife)
- Sewing machine (or needle and thread for hand sewing)
- Last (a foot-shaped mold for shaping your shoes)
- Adhesives (strong glue appropriate for footwear)
- Finishing tools (sandpaper, polish, etc.)
Materials
- Upper material (leather, canvas, or synthetic)
- Inner lining (cotton or breathable fabrics)
- Sole materials (rubber or leather)
- Insulation materials (foam or sponge, if needed)

As you gather your materials, consider visiting a local craft store or sourcing from online suppliers. Many DIY shoe enthusiasts recommend stores like Amazon, Joann Fabrics, and specialized online shops like ShoeSupply.
Step-by-Step Process of Making Your Own Shoes
Now that you have your tools and materials ready, let’s break down the step-by-step process of making your own shoes.
Step 1: Designing Your Shoes
Start by sketching your design on paper. Consider the style, color, and materials you want to use. If you’re new to shoe design, look for inspiration online, or even check out Pinterest for unique ideas. Keep in mind the type of shoes you want to create — will they be casual or dressy? Will they have laces or be slip-ons?
Step 2: Create a Pattern
Once you finalize your design, create a pattern that reflects your shoe design. You can draft it manually or find printable patterns online. If you’re new to this, consider starting with a simple shoe design before tackling more complex styles.
Using Existing Shoes as a Template
If you already own a pair of shoes that fit well, you can use them as a template. Trace the outline of the shoe onto a piece of paper to create your pattern. Just remember to adjust for seam allowances!

Step 3: Cutting the Materials
With your pattern ready, it’s time to cut your materials. Be sure to make precise cuts as this will affect how well your shoes fit and look. Use your pattern as a guide and lay it flat against the material before cutting. Ensure you have all the components, including the upper, lining, and sole.
Step 4: Assembling the Upper
Now, it’s time to assemble the upper part of your shoe. Start by sewing or gluing the pieces of the upper together following your design. Pay attention to details like stitching; decorative stitches can add a unique flair to your creation.
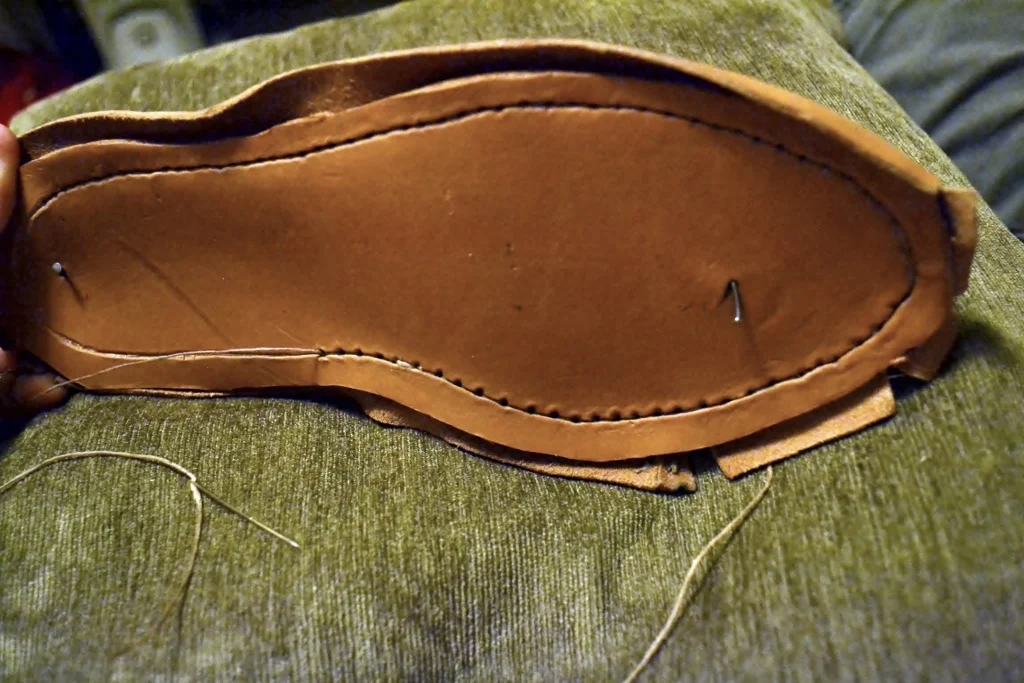
Step 5: Attaching the Sole
Once the upper is complete, it’s time to attach the sole. This can be a bit tricky, but ensure that the sole aligns perfectly with the upper. Use the appropriate adhesive or stitching techniques depending on your design.
Step 6: Finishing Touches
Finally, add finishing touches like laces, buckles, or decorative elements. Make sure to polish your shoes to give them a professional look. This is also the time to add any insoles if desired for added comfort.
Real-World Experiences and Case Studies
Many shoe enthusiasts have taken on the challenge of making their own footwear. Here are some inspiring real-world experiences:
Case Study: Jane’s Sneaker Project
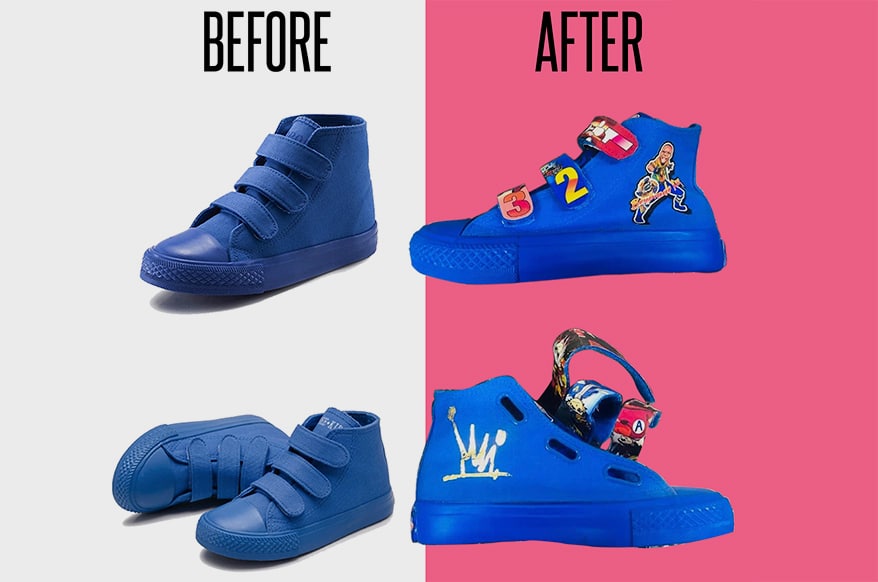
Jane, a graphic designer, decided to make her own sneakers after struggling to find a pair that matched her style. After weeks of researching and gathering materials, Jane designed vibrant, canvas sneakers with custom artwork. The process was both challenging and rewarding. Jane shared her experience on her blog, detailing her learning curve and the importance of patience in such a crafting project.
Case Study: Mike’s Leather Boots
Mike, a hobbyist shoemaker, took on the challenge of crafting leather boots for himself. He spent months perfecting his patterns and learning to work with leather. His handmade boots became a local sensation, and he eventually started selling his designs at a farmer’s market, highlighting the potential of turning a hobby into a small business.
Comparing Techniques: DIY vs. Professional Shoe-Making
| Feature | DIY Shoe-Making | Professional Shoe-Making |
|---|---|---|
| Cost | Generally lower for less complex designs. | Higher due to labor and quality materials. |
| Customization | Highly customizable based on personal preference. | Limited to available styles and sizes. |
| Skill Level | Learning curve; suitable for beginners with patience. | Requires professional skills and experience. |
| Time | Can take weeks or months depending on complexity. | Production can be faster due to experience. |
| Quality Control | Varies by individual; experience improves quality. | Consistent quality through professional standards. |
Pros and Cons of Making Your Own Shoes
Pros
- Endless customization options for style and fit.
- Cost-effective over time with the right techniques.
- Perfect fit tailored to your feet.
- Creative outlet for self-expression.
- Potential to start a small business.
Cons
- Time-consuming process, especially for beginners.
- Requires initial investment in tools and materials.
- Steeper learning curve can lead to initial failures.
- Quality may vary without experience.
Tips for Successful Shoe-Making
For a successful shoe-making experience, keep these tips in mind:
1. Start Simple
If you’re new to shoe-making, start with a simple design. Consider creating slippers or basic sandals before moving onto more complex styles like boots or dress shoes.
2. Invest in Quality Materials
Use high-quality materials for comfort and durability. While it might be tempting to cut costs, poor materials can lead to uncomfortable shoes and frustrating experiences.
3. Document Your Process
Keep a record of your shoe-making process, including patterns, materials used, and techniques applied. This documentation will help you refine your skills and serve as a valuable reference for future projects.
4. Join a Community
Engage with other shoe enthusiasts online or in local craft groups. Sharing experiences, tips, and techniques can provide valuable feedback and encouragement.
FAQs About Making Your Own Shoes
1. Can I make shoes without a sewing machine?
Yes, you can make shoes by hand sewing. Many beginner-friendly designs require minimal sewing skills.
2. What materials are best for beginners?
Start with canvas or synthetic materials as they are easier to work with than leather.
3. How long does it take to make a pair of shoes?
The time varies based on design complexity but can range from a few hours to several weeks.
4. Do I need special tools to make my shoes?
While basic tools will suffice, investing in some specialized shoe-making tools can enhance your results.
5. Can I sell the shoes I make?
Yes, you can sell your handmade shoes, but make sure to comply with local regulations and guidelines.
6. Are there classes available for shoe-making?
Yes, many community colleges and craft schools offer classes. Additionally, online platforms like Skillshare or Udemy provide courses as well.
7. What are the best resources for learning shoe-making?
Look for books, online tutorials, and communities dedicated to shoe making, such as forums and social media groups.
8. How can I make my shoes more comfortable?
Incorporate padded insoles and choose breathable materials to enhance comfort.
9. What is the most challenging part of making shoes?
Aligning the soles and ensuring a good fit are often the most challenging aspects for beginners.
10. Can I use recycled materials for making shoes?
Yes! Using recycled materials can be a creative way to craft unique shoes while being eco-friendly.
11. Is making shoes a good business opportunity?
Absolutely! With the rise in demand for unique, handmade products, shoe-making can be a viable business venture.
Conclusion
Making your own shoes can be a fulfilling and creative process that allows you to express your personal style while ensuring a perfect fit. With the right tools, materials, and guidance, you can craft footwear that not only looks great but feels great too. Whether you’re doing it for fun or considering a small business venture, this guide serves as a starting point for your shoe-making journey. So gather your materials, sketch your designs, and start crafting your unique pair of shoes today!