If you’re a sneakerhead or simply love your tennis shoes, you might want to breathe new life into them with a splash of color. Painting your tennis shoes can be a fun and creative way to customize your footwear while saving money. In this comprehensive guide, we’ll walk you through everything you need to know about how to paint tennis shoes, including tips, techniques, and FAQs.
Why Paint Your Tennis Shoes?
Before we dive into the techniques, let’s explore why you might consider painting your sneakers. There are several reasons:
- Customization: Personalization allows you to express your unique style.
- Restoration: Revamping an old pair can bring them back to life.
- Trends: Follow seasonal trends by updating your footwear quickly.
- Environmentally Friendly: Instead of buying a new pair, painting reduces waste.
Materials Needed for Painting Tennis Shoes
Before you get started, it’s crucial to gather all necessary materials. Below is a list of supplies you will need:
Essential Supplies
- Sneakers: A clean pair of tennis shoes you wish to paint.
- Paint: Use acrylic paint or specialized fabric paint.
- Brushes: Flat brushes for larger areas and fine brushes for details.
- Painter’s Tape: To create sharp edges and protect areas you don’t want to paint.
- Palette: For mixing colors.
- Sealer: To protect your painted design.
- Water and Rags: For cleaning brushes and hands.

Step-by-Step Guide to Painting Tennis Shoes
Step 1: Prepare Your Shoes
The first step in painting your tennis shoes is preparation. Start by cleaning them thoroughly. Remove any dirt, dust, or old shoe polish. Here’s how:
- Remove laces and insoles.
- Use a damp cloth or sponge with mild soap to wipe down the surface.
- Let your shoes dry completely.
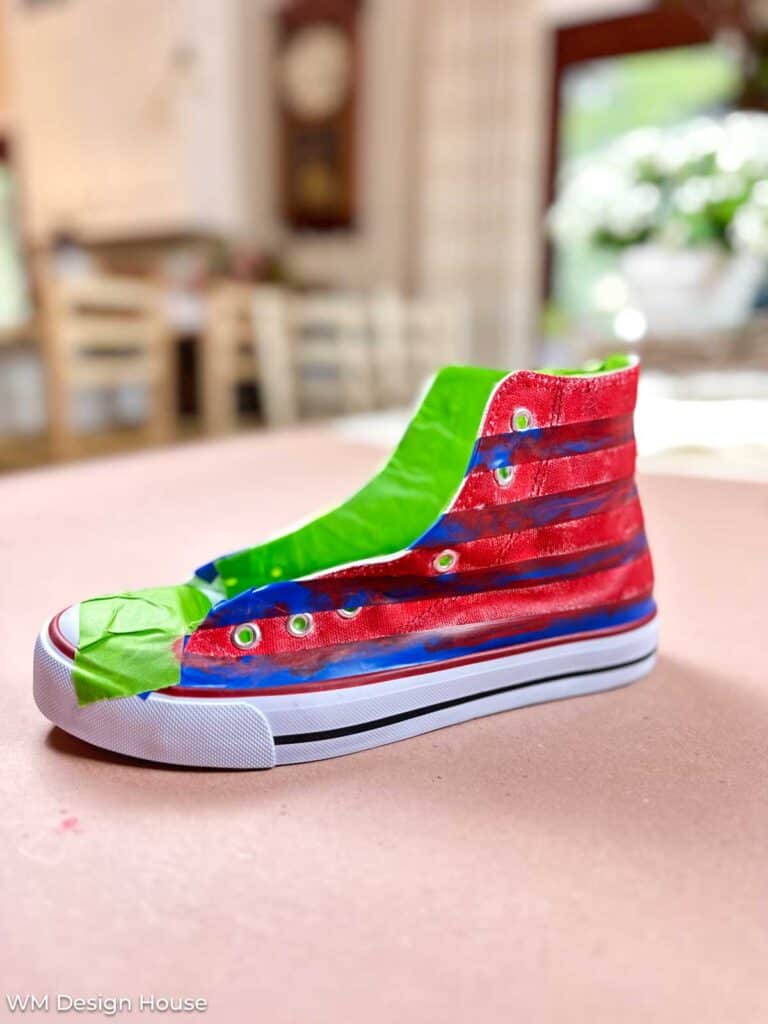
Step 2: Secure the Areas You Don’t Want to Paint
Using painter’s tape, carefully cover any areas you want to protect, such as the soles or logos. This ensures you have clean lines and prevents paint from seeping where it shouldn’t.
Step 3: Apply the Base Coat
Start with a base coat if you’re changing the original color of your shoes significantly. Use a flat brush and apply the paint evenly across the surface. Here are some tips:
- Apply thin coats to avoid drips.
- Let each coat dry before applying the next one.

Step 4: Add Details and Designs
Once the base coat is dry, it’s time to unleash your creativity! Use smaller brushes to add details, patterns, or even stencils if you’re not confident freehanding.
Design Ideas
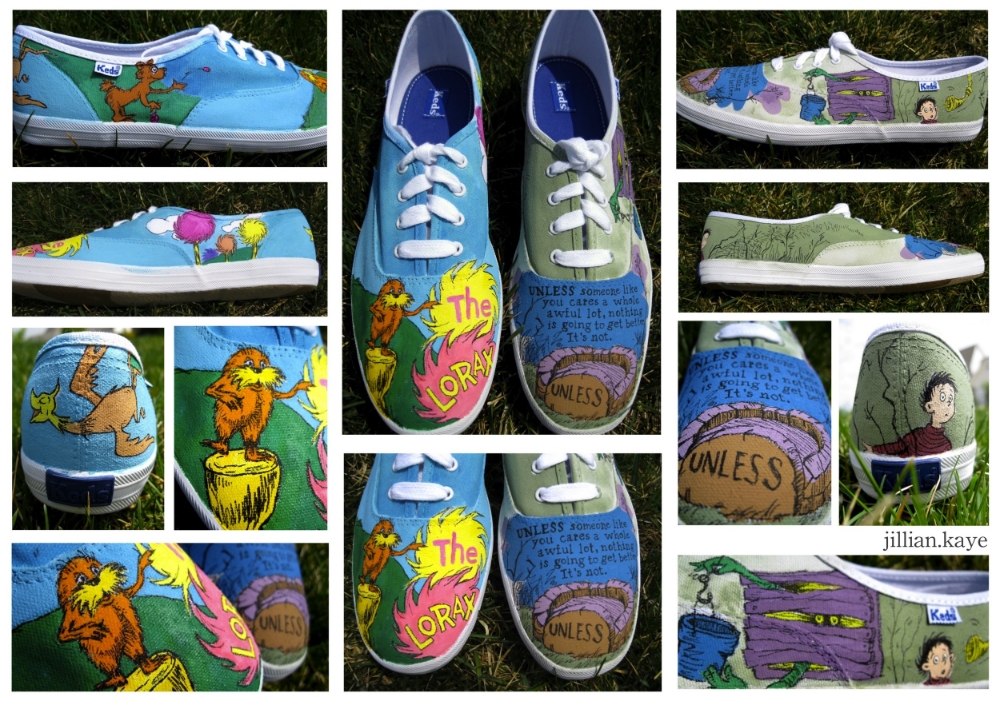
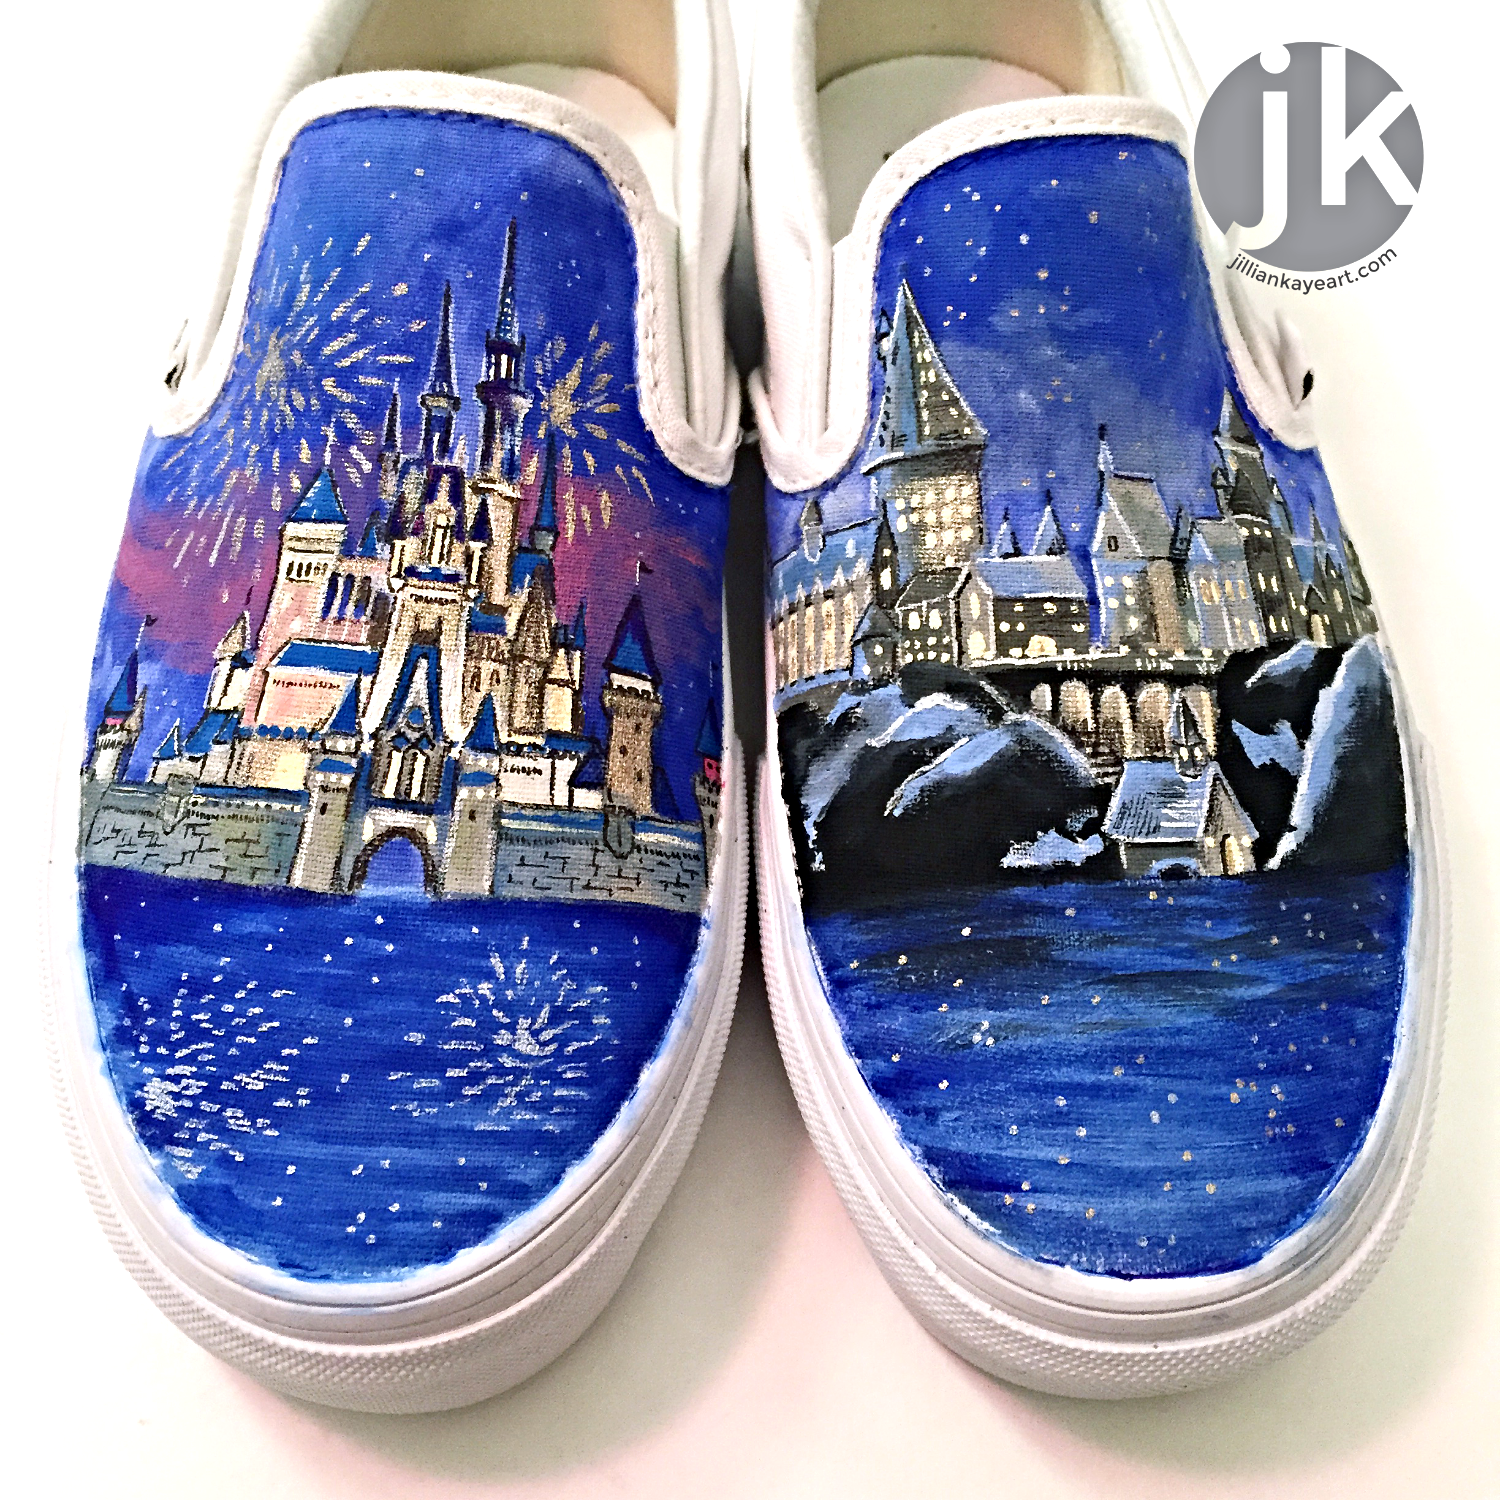
Consider adding geometric shapes, floral designs, or even your favorite quotes. The sky’s the limit!

Step 5: Seal Your Artwork
After the paint is dry, apply a clear acrylic sealer. This will protect your design from scuffs and water damage. Spray it evenly from a distance of about 12 inches.
Real-World Footwear Experiences
Case Study: The Transformation of Old Sneakers
Let’s look at a real-world example of a DIY sneaker painting project. Jane, a 30-year-old graphic designer, took her old white tennis shoes and transformed them into a vibrant work of art. She used a variety of colors to create a tropical theme, incorporating palm trees and sunset hues.
After preparing her shoes, she followed the steps outlined above, focusing on precision during the detailing phase. The result? An eye-catching pair of sneakers that sparked conversations wherever she went! Jane’s project not only revived her old shoes but also served as an expression of her creativity.

Pros and Cons of Painting Your Tennis Shoes
Pros
- Personal Touch: Make your shoes truly yours.
- Cost-Effective: Save money by refreshing what you already own.
- Fun Activity: It’s a great way to spend your weekend!
Cons
- Time-Consuming: Depending on your design, this can take several hours.
- Skill-Dependent: Requires some artistic ability for the best results.
- Durability: DIY paint may chip or fade over time.
Tips for the Best Results
- Practice First: If you’ve never painted shoes before, consider practicing on a scrap piece of fabric.
- Use High-Quality Materials: Invest in good paint and brushes for long-lasting results.
- Be Patient: Allow ample drying time between coats.
- Customize the Laces: Don’t forget to paint or replace the laces to match your new design!
Product Highlights: Recommended Materials
Paints
| Product | Type | Best For |
|---|---|---|
| Angelus Acrylic Paint | Acrylic | All surfaces, durable finish |
| Fabric Paints by Tulip | Fabric | Softer fabrics, various colors |
| Liquitex Professional Heavy Body Acrylics | Acrylic | Thicker applications, vibrant colors |
FAQs About Painting Tennis Shoes
1. Can I paint any tennis shoes?
While most canvas and fabric shoes are suitable for painting, it’s essential to avoid shoes made from materials like leather or synthetics unless you have the right paint.
2. How do I remove paint from my sneakers?
If you make a mistake, you can remove paint using rubbing alcohol or acetone, but be careful not to damage the shoe material.
3. Will the paint crack or peel off over time?
If applied correctly with proper sealing, your paint job should last a long time. However, flexibility in materials may lead to cracking.
4. Is it safe to wash painted shoes?
Hand washing is recommended over machine washing to preserve your design. Use a damp cloth and mild soap.
5. Can I use regular paint for shoes?
It’s best to use paint specifically designed for fabric or acrylics that can withstand wear and tear.
6. Should I use a primer before painting?
A primer is not necessary, but it can help with adhesion, especially if you’re making a significant color change.
7. How long does it take for the paint to dry?
Drying time can vary based on humidity, temperature, and the type of paint used. Generally, it takes 1-2 hours for a coat to dry.
8. Is painting shoes a permanent solution?
While painted shoes can last a long time, they are not permanent and may need touch-ups over time.
9. Can I sell painted shoes?
Yes, many people sell custom-painted shoes online. Make sure to follow any legal guidelines concerning trademarks if you’re using brand logos.
10. How can I make my painted shoes waterproof?
After sealing your design, consider applying a waterproof spray for additional protection.
11. Can I use stencils when painting?
Absolutely! Stencils can help create clean designs and patterns if you’re not confident about freehand painting.
Conclusion
Painting tennis shoes is a creative and fun activity that allows you to express your personal style while revitalizing old footwear. With the right materials and this guide, you can easily transform your sneakers and make them unique to you. Whether you’re doing a simple color change or a complex design, the possibilities are endless!
So, gather your materials and get started on your custom shoe painting journey. Happy crafting!